
You can add customized resources to a bookshelf from the Resource Options modal by using the Add to Bookshelf button.
Note: These instructions only apply to customized books.
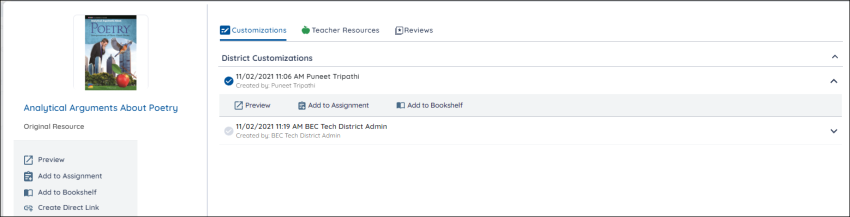
- Find the customized book you want and press the More Options icon.
- Select a customization from the Customizations list in the Resource Options modal.
- Click Add to Bookshelf.
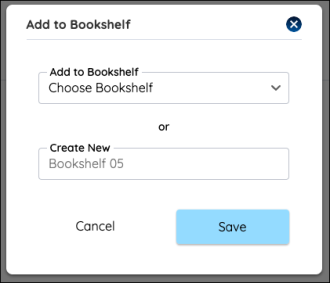
- Select a bookshelf from the dropdown and select the Save button to add your book. The first two options in the dropdown allow you to add your Customization to the School or District Customization shared bookshelves. If you’d like to create a new bookshelf and add your book to it, just select Save and your book will be added to a new bookshelf with a default name. If you want to name the new bookshelf, type the name in the text field.

|
You can also drag your customized resources to a bookshelf instead of using the menu. You must choose the customized version of the resource you want to add to the bookshelf before you drag. You can also select more than one resource at a time by selecting the check mark at the top left of the thumbnail. |
Last Updated: July 20, 2022